Wanting to make your own Sleeping Beauty Princess necklace? Please note that these necklaces are not intended for children to wear or make. I have been meaning to add this post for a while, and here it finally is to help any who would like to tackle this project. So far, I have made two necklaces. I didn’t have the foresight at the time when I was making the first one to take step by step photos, but it’s really easy and you’ll have no problem figuring out how to make it. The second necklace has intermediate step photos to explain the construction 🙂
A) First Necklace Style – Layered foam, gold paper and gold lame
The first Sleeping Beauty princess necklace that I made, consisted of black craft foam, gold craft paper (the paper I used was once a gift bag) and gold lame all glued together with a glue stick. I then cut the necklace form with a razor blade on a self-healing mat using a Sleeping Beauty necklace template. Next, I added brass rivets mounted on the ends of the necklace centre shape to prevent the layers from delaminating. Although that sounds easy, that was the hardest step and I might have cursed a bit while doing it. I used brass rivets that I got at my local leather store and most importantly used a scrap 2×4 that was in the garage to protect the floor as I set the rivets with the hammer. The last step then involved adding hoops through the rivets and connecting a chain with necklace findings. Done!
B) Second Necklace Style – Brass sheet metal
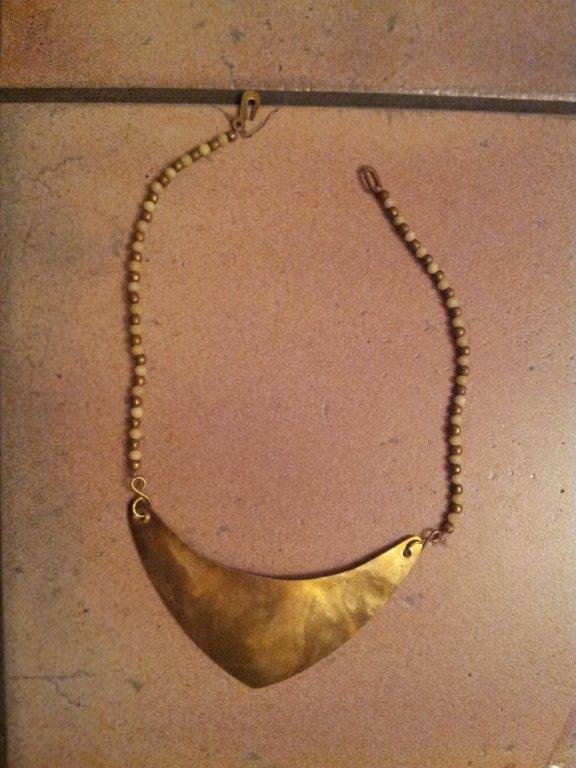
Although I love the first Sleeping Beauty necklace that I made, it’s not the most durable, so when a friend was planning to get rid of one of her necklaces, I was very happy to become the new owner as I realized that this would be the perfect base for a new Sleeping Beauty princess necklace.
Here is what the necklace looked like to start off:
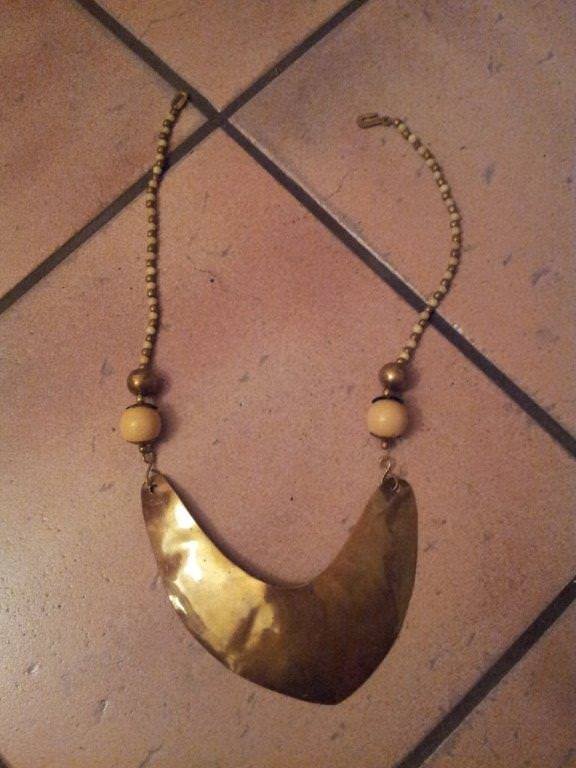
I glued my necklace template to the back of the centre portion and cut around the template using aviator snips (but if you had a sheet of brass, you could glue the template and cut around the template). Next, I drilled holes in the ends and sanded everything down with sandpaper (the type for metal). And yes, I wore safety goggles for all of these steps!

Finally, I added chain and findings from the local bead store and VOILA! A brand new Sleeping Beauty princess necklace!